Monday, September 29, 2014

Halloween ideas

I love Halloween! Who doesn't really?...But I feel like I am having a bit of a creative block right now. I don't know what to be! My husband isn't usually into the whole Halloween thing, but this year he's actually willing and excited for me to do some creative makeup on him. My son  is almost 2, so I don't know if he will even allow me to any face painting on him, but I'm willing to try!


I have done a few makeup looks over the past few days while my babe was napping, but I feel like they have all been done before.


Everyone did the sugar skull last year, and the deer popped up all over Pinterest last year too. I'm feeling uninspired and it's killing me!


  I want to do something awesome this year. Leave me a comment on here or on instagram (katielivingston1) with any ideas or any looks that you'd like to see recreated for Halloween! I'd love to hear what is inspiring you this year!

Thursday, September 25, 2014

Bridal trial run: Lindsey

This girl is a stunner! She didn't even need makeup, she's so naturally beautiful and her skin was flawless! I really enjoyed this one. :)


Face:
Primer Makeup Forever HD primer all over the face with *clean* hands
Foundation Gaftobian Hi Def Glamour Crème in Buttermilk with flat foundation blush and blended out with Sigma F80 flat top kabuki brush
Concealer: MAC Pro Longwear in NW 20
Contour/bronzing: MAC Pro Powder in Shadowy and Tarte Amazonian Clay bronzer
Blush: Makeup Geek Infatuation and MAC Melba
Highlighter:  Bobbi Brown Shimmer Brick in Beige
Powder: MAC Pro powder in Emphasize and Be a Bombshell Cosmetics Smooth Criminal Powder under the eyes.


Eyes:
Primer: Urban Decay Eyeshadow Primer Potion in Eden
Eyeshadows:
in the crease I used Makeup Geek Peach Smoothie, MAC Swiss Chocolate, Saddle, Brown Script,
on the lid I used Naked Lunch, brow bone was Shroom and in the tear duct area was Mary-Lou Manizer by the Balm .
Liner: Urban Decay gel liner in Perversion

Brows:
Anastasia Beverly Hills Brow powder in Chocolate

Lips:
Liner: Jordana Rock n' Rose
Lipstick: MAC Angel and Myth mixed
Lipgloss: LA Girl Glazed Lip Paint in Elude (See prior post for swatches and review)

Have a fabulous day!


Katie
beautybykatielivingston@gmail.com

Monday, September 22, 2014

Pallet review: Kat Von D Saint

I have had this pallet for a couple of years but just rediscovered it. I haven't been drawn to it lately for some reason, I think because there are a lot of shimmer colors and I am more drawn to matte shades. But as I was playing with it the other day I fell back in love with it. The color payoff is fantastic and all of the colors in the pallet are very wearable. I think it's a great pallet for doing bridal makeup (it's just missing  couple of shades) so I think I will be taking it with me on my future jobs.


The only matte color is Caravaggio and it's a cool toned dark brown. <3 and bookworm look matte, but they have just a touch of sparkle in the me. And the rest of the colors are very shimmery.


 I decided to play with it really quick and did a traditional bridal eye look. If you want to know how I did it, read on!

1. Use peach smoothie from Makeup geek (or a light matte brown shade) in the crease as a transition shade
2. put heavens in the inner corner and right underneath the eyebrow
3. blend enjoy the silence and downtown on the center part of the lid, making sure not to go too far into the crease.
4. with a small blending brush (I used MAC 217) take bookworm and Caravaggio on the outer triangle of the eyelid and slightly blend up into the crease.

It's a really easy look to accomplish, but I think it's a traditional beautiful eye look. You can buy it here.


Have a beautiful day!  Katie


beautybykatielivingston@gmail.com
Facebook: beauty by Katie Livingston
Instagram: katielivingston1

Sunday, September 21, 2014

Maternity photo shoot with Tamey

Tamey is having her 2nd child and was having a maternity photo shoot done. Tamey is not used to wearing makeup so we made sure not to go too heavy. She had the most beautiful porcelain skin I have ever seen!

She knew she wanted golds, pink and purples on the eyes, but other than that she had no idea what she wanted. Which is so nice to have someone say "I trust you, do whatever you think"


For her hair she wanted something a little boho and loose. I started out with her hair down and some loose undone curls with the braids. I really love the 'lived in' messy hair look right now. She really liked it, but she was having a hard time with her hair down. She is a busy working mama and very rarely wears her hair down, so she asked it we could pull it back.  Of course! I always want my ladies to feel beautiful and comfortable. So I pulled it slightly to the side with a messy bun and I think it turned out really cute.


Photography by the amazingly talented Braxton Wilhelmsen of Braxton Bruce Photography. I love his photography style.

Saturday, September 20, 2014

Red-orange halo eyeshadow

So I wanted to try something a little different so I decided to do a "halo" eye shadow look. If you don't know what that is, it's when you place the darker shades on the inner and outer corners of the lid and a lighter color in the center of the lid.

First you want to prime your eyes, as always. I used Urban Decay eyeshadow primer in Eden.


Then I started with Peach Smoothie from Makeup Geek on a fluffy crease brush (Sigma E40) and blended it in my crease. I also took Vanilla Bean and highlighted my brow bone with it.

As you can see it isn't very noticeable, but it sure helps with blending out your other colors and adding depth to the eye.


Next I took a smaller blending brush (Sigma E25) and a warm toned matte brown shadow (I used Makeup Geek's Cocoa Bear) and deepened up the color in my crease. Make sure to blend blend blend.

 
Now for the color! I used MAC Red Brick and a small shader brush and packed that color on the inner and outer corner. I then took a clean blending brush and diffused that color up into the crease. You could do this with any color. I chose red/orange because I am obsessed with warm matte colors...and I was inspired by Samantha Ravndahl who did an orange halo look recently.


Then to give even more depth, I went in with more cocoa bear and packed that on a bit more heavily on the outer corner.
...you guessed it, blend it out.

Next I put a light shimmery color on the very center of the eye. I used Marylou Manizer from the Balm. I usually use this for a cheek highlight, but it works great for eyes too. I packed that on and then took the brush that I used for Red Brick and blended out the edges of the highlight.
I also added a gel wing liner

Then I took red brick on a pencil brush and took it on the lower lash line to smoke it out a bit. After that I took cocoa bear and packed that in a little tighter to the lower lash line. Add some mascara and you're good to go!
 
Have a great day!


Monday, September 15, 2014

brows brows brows...

 
Everyone's eyebrows are different, but they are so important! They frame the entire face. A bad set of brows can make someone look crazy. We've all seen them...the hairless brows that are just one thin line of eyeliner, the uni, the sperm brow, the McDonalds arches, etc. Ladies, don't over pluck your brows. Go to a professional if you feel lost.
 
 This is how I like to fill in my eyebrows at the moment. I really take my time when it comes to filling in my brows, because when I have a bad brow day it throws off my whole makeup look.


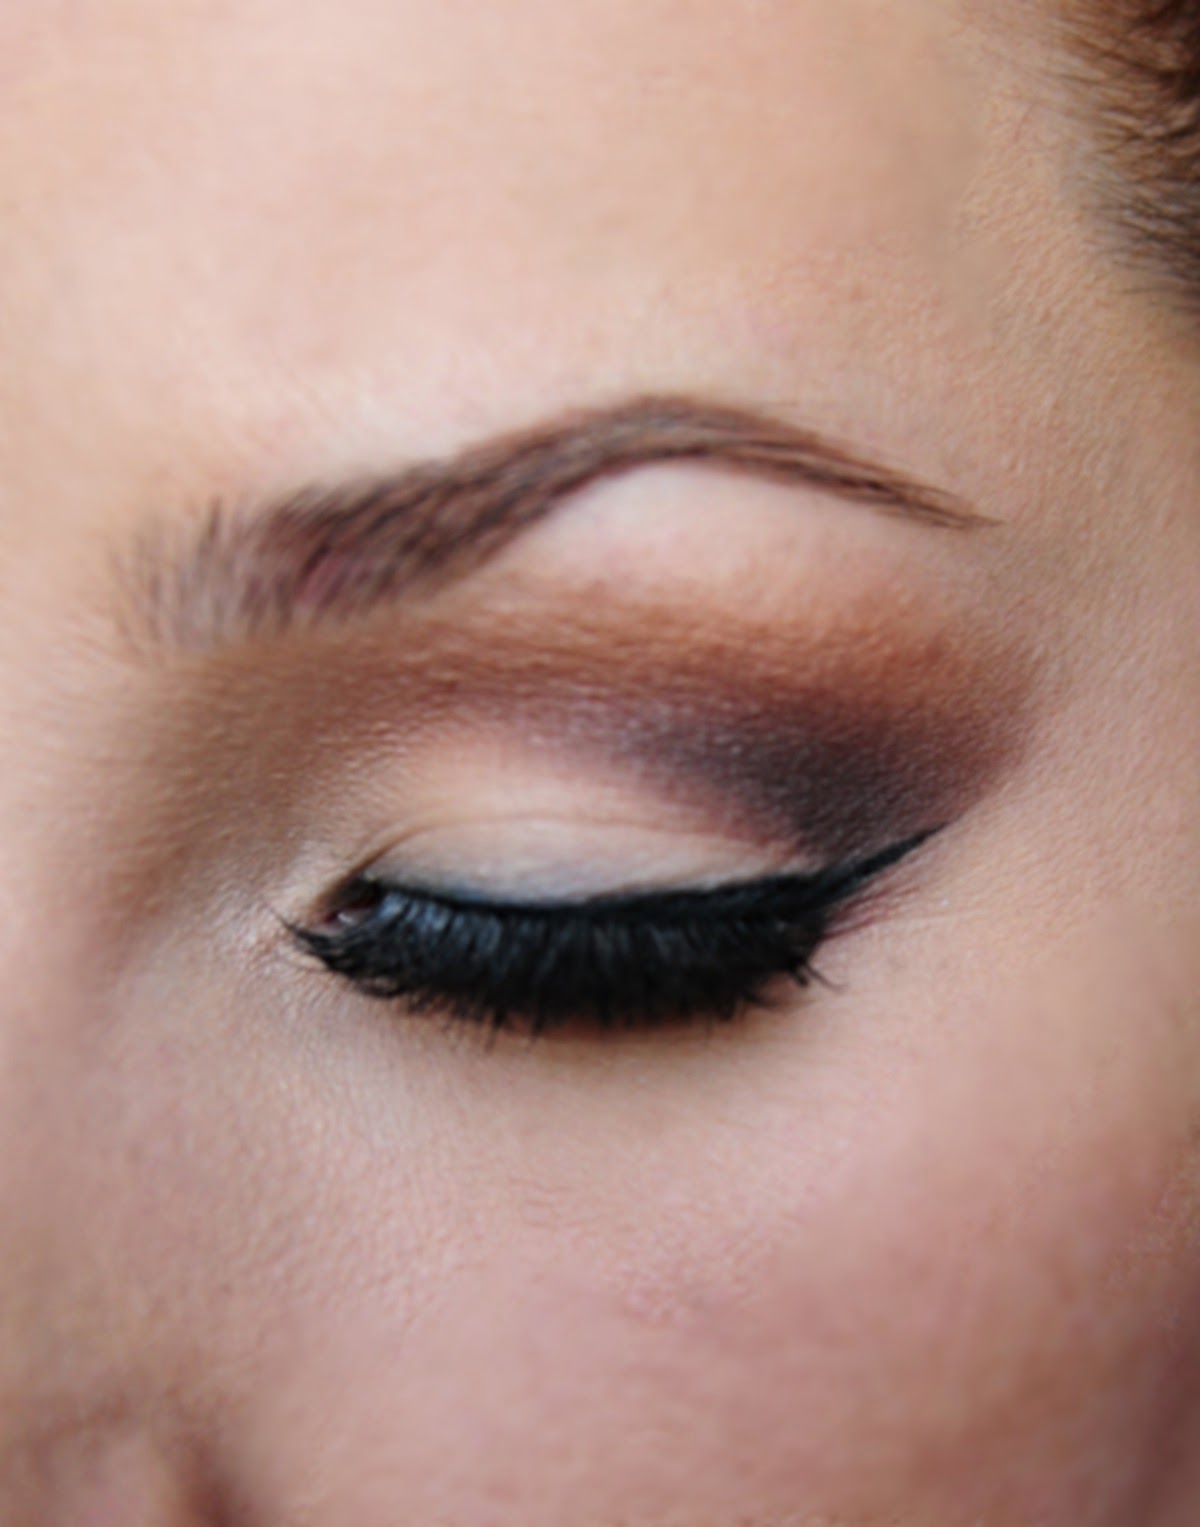
This is before any product has been applied to my eyebrows, so this is the natural shape. I just pluck the strays. I actually find plucking my eyebrows very relaxing so I pick those little strays out almost every morning. But if you hate plucking, or you don't know how, go see a pro and they can get you in and out in 10 min.
 
Products used for  doing my brows today were Anastasia Beverly Hills Dip Brow Pomade in Auburn and Taupe, Anastasia BH concealer and clear brow gel. To apply the pomades I used a firm natural haired small angled brush, with a spoolie on the other end.
 

First I start at the arch and draw 2 lines, outlining the top and bottom of the tail with the color auburn.
 
Then I softly fill in-between the lines.


Then I make my way to the front of the brow. I make a line at the bottom, using the color taupe (same brush) and I flick my brush upward toward my forehead. I will even turn my brush vertically and make tiny strokes to fill in the front of the brow.

 
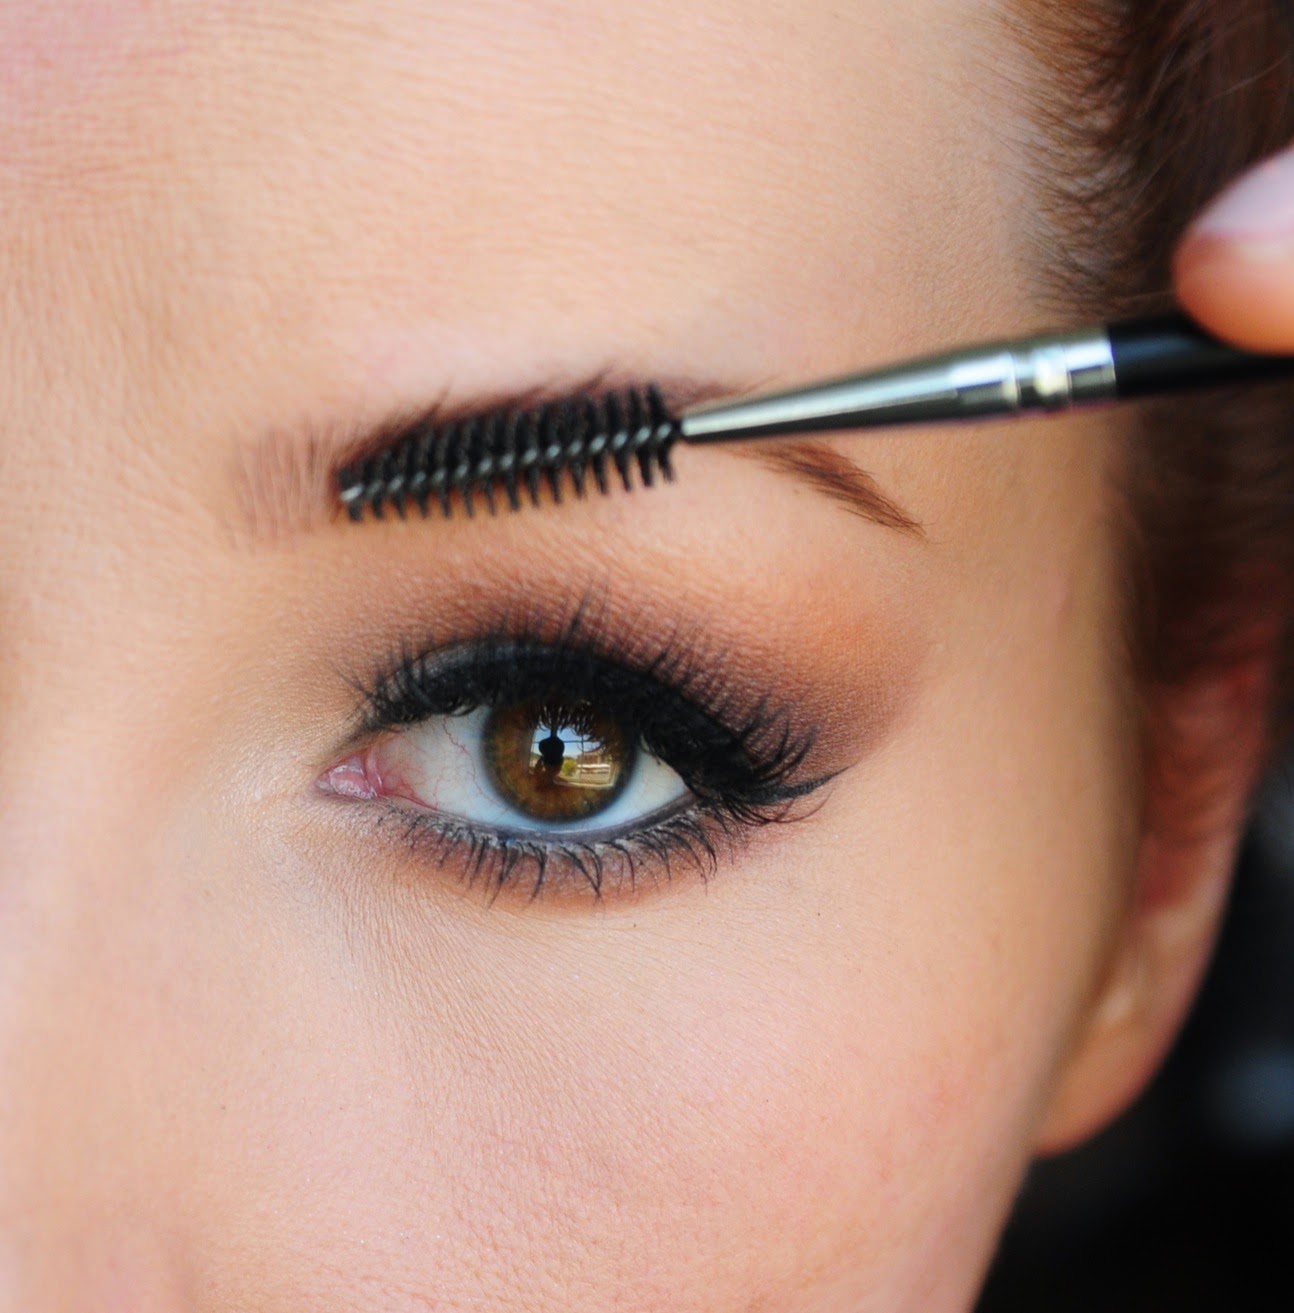
Throughout this whole time I use the spoolie end to blend out the product. This will give the most natural look. It will also blend the back of the brow with the front of the brow. If you mess up and get product where you don't want it, use the tip of the spoolie to scratch the product off. It should come right off.
blend blend blend...


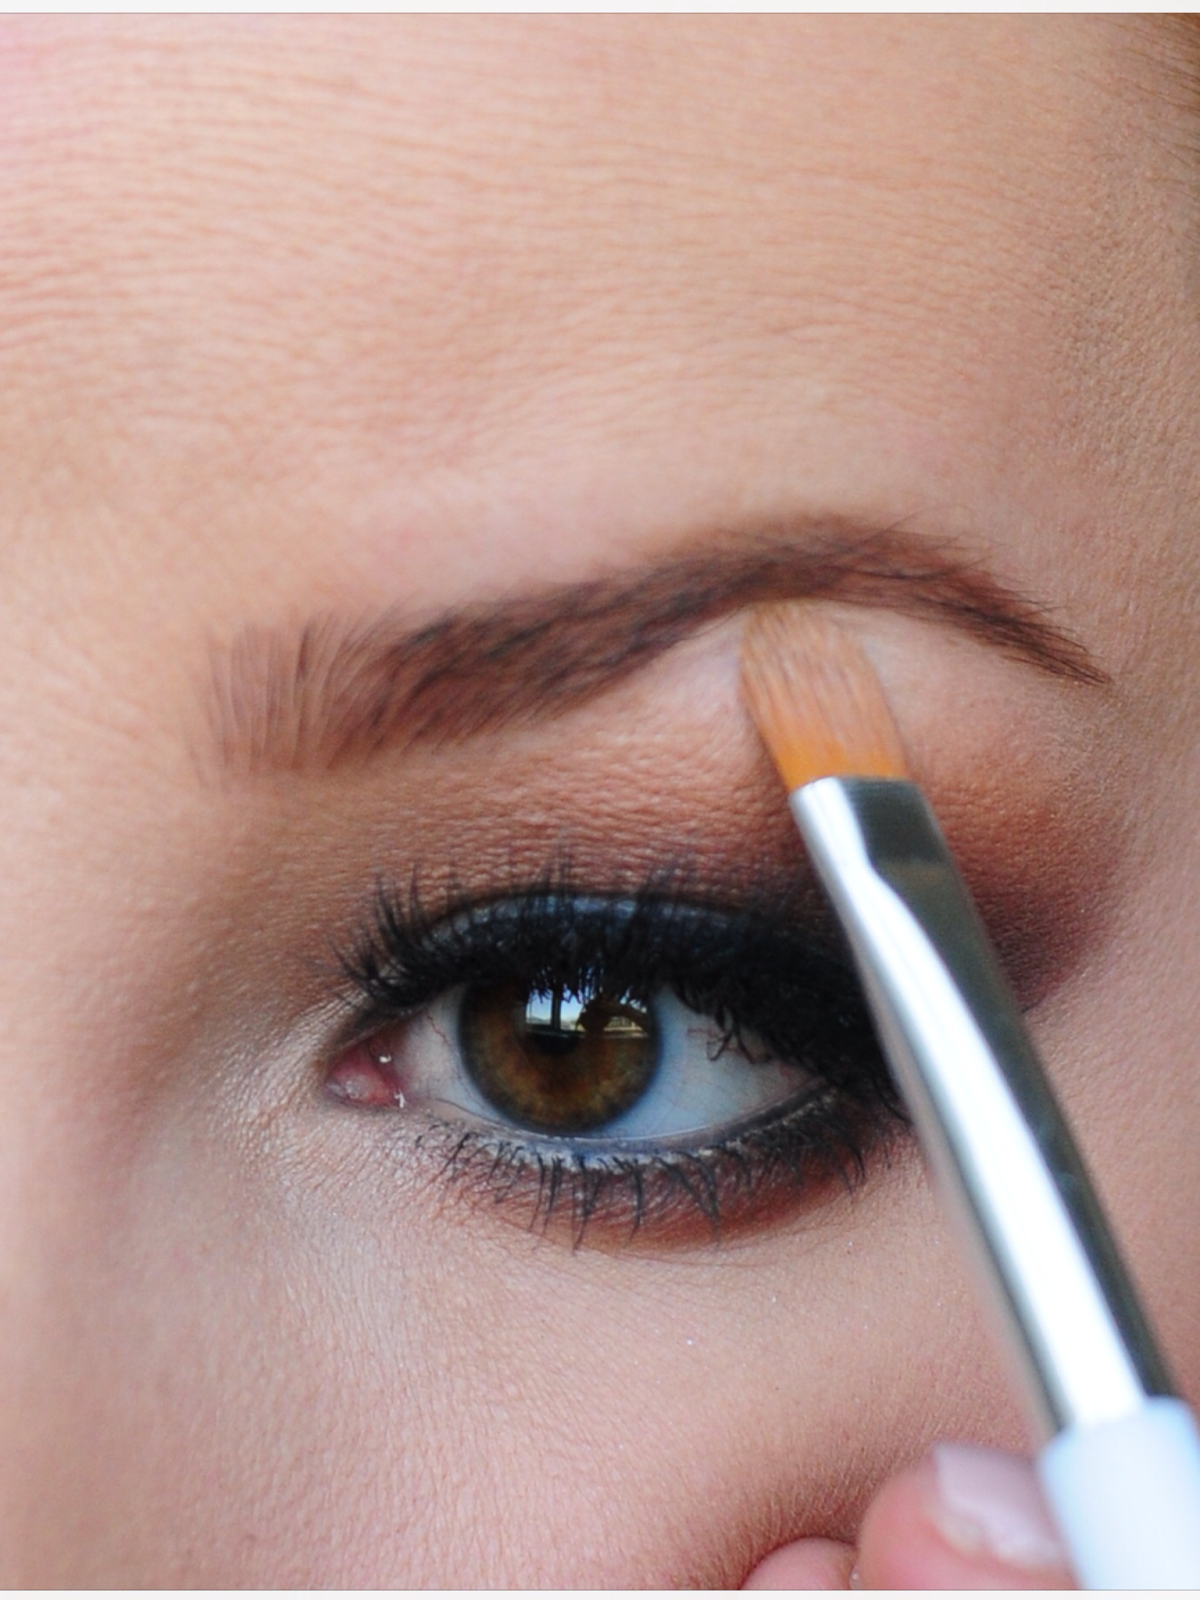
Then with a synthetic concealer brush I use the tiniest bit of concealer and clean up the edges, Starting with underneath the brow and then using the leftover product to go on above the brow.


To set everything in place I use the Anastasia Beverly Hills (duh) clear brow gel. This stuff is incredible. But if you don't want to shell that kind of money out, I hear the Milani clear brow gel is great, or you can even spray some firm hold hairspray on a spoolie and brush though your brows to set them in place.


Here is what they look like finished. Nothing fancy, but I think they are a heck of a lot better than without anything on them. They tend to be a bit different every time I do them...kind of like signing my name. :)
 
PS this is my go-to eye shadow look. I don't do it every day but it's what a do when I'm not feeling super creative. Let me know if you want to see how I do it.

Have a great day!

Wednesday, September 10, 2014

Concealer review: LA Girl Pro Conceal

Alright, who is LA Girl and where did they come from? I know they've been around forever, but I feel like they are stepping up their game right now. They have figured out they key is sending their products to youtube personalities, beauty gurus and makeup bloggers.
That is how I heard about these concealers and so far I'm a fan.


WARNING!! Make sure to gently squeeze and mix your tube of concealer before opening it. I learned this the hard way. I opened up one of my tubes to apply it and squeezed water all over my face..it was disgusting. I'm assuming it had been sitting for a while before I purchased it, and the water and pigment had separated, so just be sure to mix it all together or you might get a shower.
 

The applicator is a small synthetic brush, and it glides on very smoothly.
 

Lipgloss: LA Girl  in the color Peony

I used the color Natural on myself.  I applied it under my eyes, down the bridge of my nose, and a little on my chin and middle of my forehead. I set the concealer with MAC pro powder in Emphasize.


Lipgloss is LA Girl in the color Elude
 
 
Overall, I really like this product. I think it's a steal for the price. I still think MAC Pro Longwear Concealer is unbeatable, but this is a great option if you don't want to spend that much money. I will keep you posted on if I have any weird reactions to it or anything like that.
 
Katie

Tuesday, September 9, 2014

LA Girl Glazed Lip Paint

So if you're anything like me, you have seen the LA Girl Glazed Lip paints popping up all over instagram lately and I have been wondering what all the hype is about. So I went to my Walgreens, CVS and Wal-Mart and could not find the brand anywhere. I just had to try them so I ordered straight from their website. I bought 9 glosses and they were only $4.00 a piece!


So what's my opinion? I'm joining the band wagon, I love them. They are so pigments and there are so many colors to choose from. I only purchased 8 different colors (I bought 2 Elude) but they have way more to choose from. They last very well, in fact my arm is stained from the swatches I did. If you are a gloss girl (or guy) you need these in your life. And a little bonus, they smell like mint!
 
 
So I think Elude is my favorite, it's a perfect nude color. But I really do love them all. Peony is a beautiful pink. Pin up is a lot more red in person and it's saturated with color. Baby doll and Coy both have blue-ish undertones so they make your teeth look whiter...who doesn't love that. Tease has glitter in it, but they are fine, nothing too chunky.
 
Let me know if you've tried them and what you think of them.
 
P.S. I also had to try the LA Girl Pro concealer...blog post coming soon :)
Have a lovely day!
 
Instagram: katielivingston1
 

Monday, September 8, 2014

A few of my favorite things...

Today I wanted to highlight a few of my favorite things...emphasis on a few. There are so many products that I love, and so many out there that I have yet to try but today I am going to just show you some things I've been loving and why I love them.


First we need to talk about the Anastasia Beverly Hills Brow Pro Palette. This thing gives me life. I can just throw this in my kit and I know that no matter who my client it, I will have the colors I need for their brows. We all know Anastasia is the queen of brows, so really anything she makes is gold. The primer that is included is great (bottom right hand corner). You place that on the brows first and it gives the powder something adhere to. They also sell the primer in a stick form.
 
 
Jordana Best Lash Mascara: This is awesome for both top and bottom lashes. I love the formula, I love the volume and thickness and more than anything I LOVE the price of $2.99! find here
 
Sigma F80 Flat Top Kabuki Brush: You need this in your life. Buy it.
ok...I'll give you more info about it. I use this on almost everyone, including myself. I use it to buff foundation on to my skin. First I apply dots of foundation on to the skin, then I use patting/pushing motions to help it absorb into the skin. then I use outward circular motions to buff it in. Love.
 
Coastal Scents BR-C-S16 Bent eyeliner brush: Pretty much all brush comapies make a brush like this. I love it because you are really able to get in there, because it's bent! The bristles are firm and precise..o and it's $1.95. yeah...you can buy it here


Moving right along, this is a baked blush from NYX called Chiffon. It has a beautiful glow to it and it reminds me a lot of MAC's Warm Soul blush, just a third of the price. buy here
Just a tip: Be careful with shimmery blushes and highlighters if you have bumpy or rough skin on your cheeks and cheek bones. Sometimes Shimmer can make those troubled areas stand out more.  
 
 
 Urban Decay Cream Eyeliner in Perversion: Not too much to say about this one. It's just highly pigmented and stays on so well. It's water proof so cry all you want ;) I like to use the angled liner brush with this.


Tarte Amazonian Butter Lipstick in Angelic Nude:
This is a great nude pink color with a bit of sheen. It smells like mint which I love. The packaging is cute, but it is like a cardboard material so be aware that it can get dirty/crushed if you just throw it in the bottom of your purse.


Mary-Lou Manizer by the Balm: This highlighter crazy! The color is very intense, so a little goes a long way. I like to use it to highlight my cheekbones, cupid's bow, brow bone and inner corner of the eye. I'm pretty sure this will last me forever.

Top: UD eyeliner
below that is the NYX baked blush
then the Tarte lippie
and Mary-lou manizer on the bottom right.